The following blog post is a continuation of my Project Proposal and Thermal Imagery Collection blog posts. Throughout this blog post I will display the methods I used to mosaic the imagery. Additionally, I will show the methods I used to display and interpret the results. Another focus of the blog will be on ways to utilize the results for various applications.
Methods
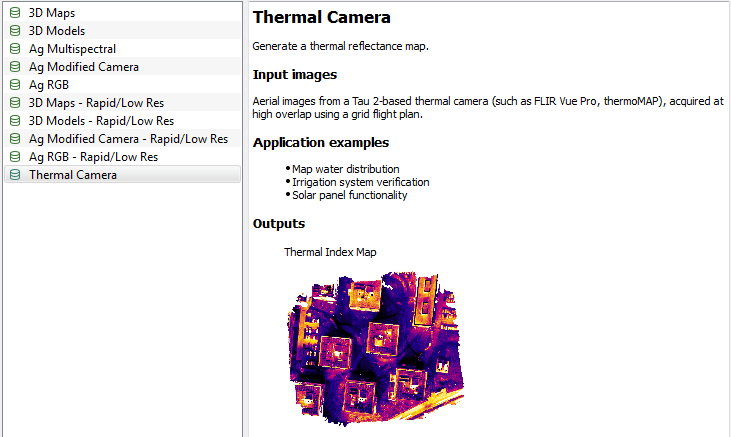
Creating mosaics of the images was the next step after collecting the imagery. As in previous blogs I will be utilizing Pix4D to create the mosaic images. The initial plan was create mosaics without utilizing GCP's and then rerun the image with GCP's. However, plans don't always go the way they are suppose to. I ran all of the flights using Pix4Dmapper Pro version 2.0.104. Shortly after completing the no GCP mosaics, version 2.1.51 was released which had a Thermal Camera processing option (Fig. 1).
The first results of the mosaics from 2.0.104 were pretty decent but they contained a few errors. I decided to utilize the new version (2.1.51) to run flight 2 again without GCP's to compare the results. The results from 2.1.51 corrected most of the errors contained in the 2.0.104 image (Fig. 2).
 |
| (Fig. 2) Flight 2 mosaic with version 2.0.104 (top) with error along the right side with the creek alignment. Flight 2 mosaic with version 2.1.51 (bottom) and the error along the creek has been remedied. |
 |
| (Fig. 3) Error in the Log Output while running flight 5. |
My professor and I various attempts to rerun the images making alterations to various settings to no avail. We sent a message to Pix4D technical support, and receive a reply stating the Thermal Camera Processing option was designed to run nor did they support the resolution (336x225) of our camera. They did not have any explanation as to why the first 4 flights ran other than luck. So, the results from flights 1 through 4 produced with version 2.1.51 will be the basis of my assessment.
To display the diurnal change of the surface temperatures I opened the .tiff image in ArcMap. The original symbology display did not accurately display the change between the imagery. I changed the Stretch type to Minimum-Maximum and matched the display values through the Layer Properties menu (Fig. 4).
 |
| (Fig. 4) Symbology stretch type set to Minimum-Maximum. |
Results
 |
| (Fig. 5) Display of the mosaic images from the flights. |
 |
| (Fig. 6) Chart displaying the collected surface temperature values collected. |
 |
| (Fig. 7) Chart displaying the soil temperature values collected. |
Discussion
The results display the diurnal change of the temperatures very well. Focusing on the roof of the house you can see the transition from the sun being in the eastern sky in the morning to the western sky in the afternoon (Fig.8)
 |
| (Fig. 8) Display of the roof temperature change between flight 2 which was collected at 9:00 am and flight 4 which was collected 3:00 pm. |
 |
| (Fig. 9) Display of the imagery with stretch set to Percent Clip and altered color scheme for flight 4. |
 |
| (Fig. 10) Clipped image of the road surface displaying the cracks in the road ways from flight 4. |
Examining Fig. 9 further you can see variations in the vegetated surfaces and the farm field on the west side of the road. You can notice the tilled farm field is displaying a warmer temperature compared to the vegetated areas on the east side of the road. These type of results could be utilized for land management and educational purposes when displaying the effects of ground cover compared to bare soil.
While these results are very exciting and are very useful. The next step is to determine a method/algorithm to determine the true surface temperature values from the UAS imagery. Additionally, we will be sending our thermal camera in for upgrades to the resolution which will all us to process the imagery in Pix4D and have higher quality results.
I will be working with Dr. Cyril Wilson and Dr. Joseph Hupy this summer to develop the algorithm to extract the true surface temperature values for the imagery. To stay up to date on our progress make sure to visit my UAS Field Journal which will contain progress of my internship along with other various UAS happenings throughout the summer including thermal processing updates.
No comments:
Post a Comment